
Last Updated on 17 August 2026 by Greg Brookes

Hip mobility is not simply about being able to stretch further. It is about having enough range of motion for the movement you want to perform, then being able to control and use that range.
That distinction matters when you train with kettlebells. A deep squat, a clean hip hinge, a lunge and a Turkish get up all ask different things of the hips.
After more than 20 years of coaching, I find it much more useful to think about hip mobility as a combination of range, control and strength rather than endlessly stretching whatever feels tight.
Below I will show you the hip mobility exercises I would use to improve those qualities, how to choose the right ones and how to put them together into a short routine.
The Most Important Thing to Understand
Mobility and flexibility are not the same thing.
Flexibility describes how much range is available. Mobility adds the ability to actively control that range and use it during real movement.
This is why a person can be very flexible on the floor yet still struggle to squat, lunge or balance on 1 leg. More stretching is not always the missing piece.
What Is Hip Mobility?
The hip is a ball-and-socket joint formed by the head of the femur and the socket of the pelvis. It can move in several directions rather than simply forwards and backwards.
For practical training purposes, I think about 6 basic hip movements:
The thigh moves towards the torso, as it does at the bottom of a squat or when stepping up.
The thigh moves behind the body or the hips drive forwards, as in a kettlebell swing.
The leg moves away from the centre line of the body.
The leg moves towards or across the centre line of the body.
The femur rotates inwards within the hip socket.
The femur rotates outwards within the hip socket.
You do not need maximum range in every direction. You need enough usable movement for the activities and exercises you want to perform.
Why Hip Mobility Matters for Kettlebell Training
Almost every lower-body kettlebell exercise depends on the hips in some way. The amount and direction of movement changes from exercise to exercise.
You need enough hip flexion and rotation to descend while keeping a position you can control.
You need to hinge at the hips while controlling the pelvis, trunk and knees.
Each hip has to accept load independently while you move through a split stance.
Mobility must be combined with balance and control because only 1 leg is supporting you.
The hips move through several positions as you transition from the floor to standing.
Walking, climbing stairs, getting off the floor and putting on shoes all require usable hip movement.
Limited movement in a particular exercise does not automatically mean that your hips are “tight”. Technique, strength, balance, your individual joint structure and even familiarity with the movement can all affect what you see.
That is why I prefer to test the movement you actually want to improve, choose 1 or 2 drills that address the limitation, then retest the movement afterwards.
Range, Control and Strength: The 3 Parts of Hip Mobility
The old approach to mobility was often simple: if something felt tight, stretch it.
Stretching can be useful, but it is only 1 tool. A more complete approach considers 3 qualities.
Can the joint and surrounding tissues move far enough for the position you are trying to reach?
Can you actively guide the hip into and out of that position without losing balance or compensating?
Can you produce and absorb force through that range when the movement becomes loaded?
Create range, learn to control it and gradually strengthen the positions that matter to you.
This is one reason I like loaded mobility work. Exercises such as the Cossack squat, goblet squat and single-leg deadlift can challenge range of motion while simultaneously teaching you to control and strengthen it.
8 Hip Mobility Exercises I Recommend
You do not need to perform all 8 exercises every day. Choose the movements that match what you are trying to improve.
Start with comfortable ranges and slow repetitions. Mobility work should feel controlled, not like a battle to force the joint further.

1. Half-Kneeling Hip Flexor Stretch
This is a useful starting point if you spend a lot of time sitting or find it difficult to fully extend the hip behind you.
Rather than arching your lower back to chase more range, gently tuck the pelvis and move forwards only until you feel a comfortable stretch at the front of the hip.
2. 90/90 Hip Switch
The 90/90 position lets you work on internal rotation in 1 hip and external rotation in the other at the same time.
Begin seated with both knees bent. Move slowly from side to side and stay as tall through the torso as you comfortably can.

3. Cossack Squat
The Cossack squat takes the hips into a direction that many kettlebell programmes neglect: sideways.
Shift your weight towards 1 leg while the opposite leg lengthens. Keep the working foot planted and only descend as far as you can control.
4. Goblet Squat
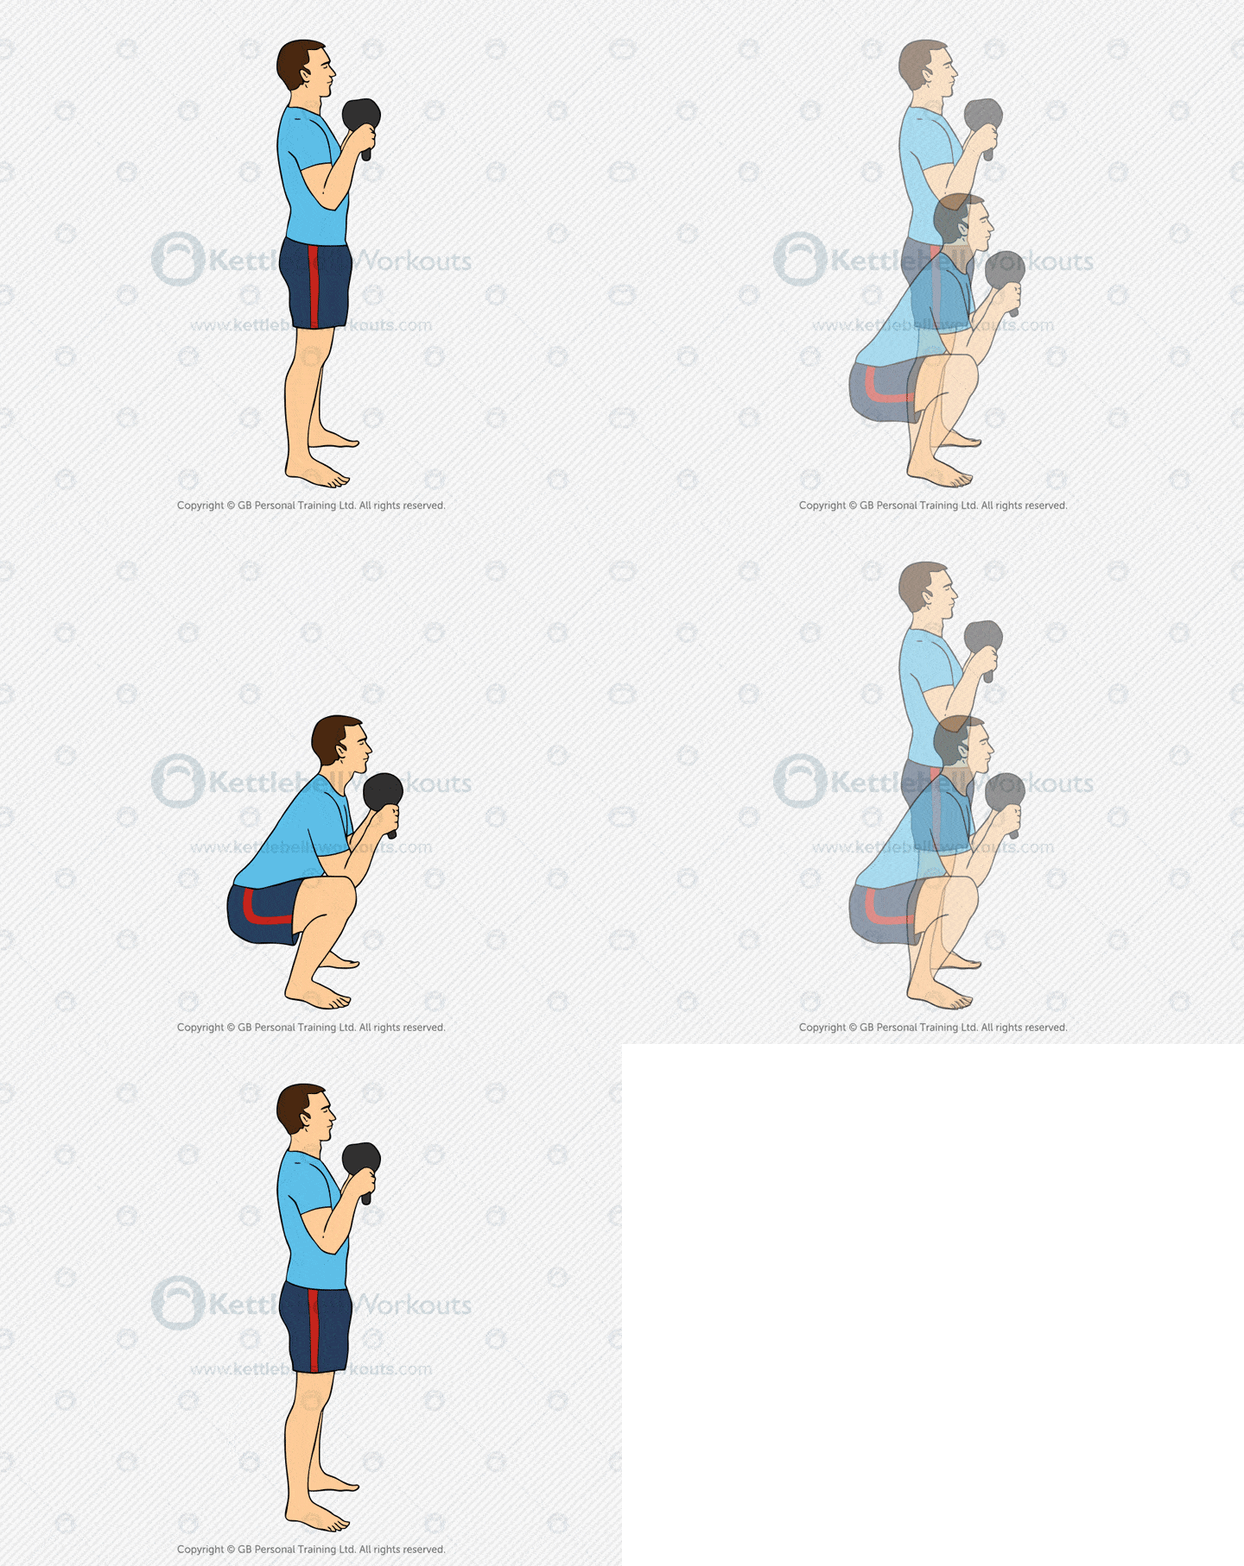
A light goblet squat is one of my favourite ways to turn new hip range into a movement you can actually use.
Hold the kettlebell close to the chest, sit between the hips and allow the knees to track in the same direction as the feet.
If the bottom position feels comfortable, pause briefly and use the elbows inside the thighs to create a little space. Do not force the knees apart.
5. Single-Leg Deadlift
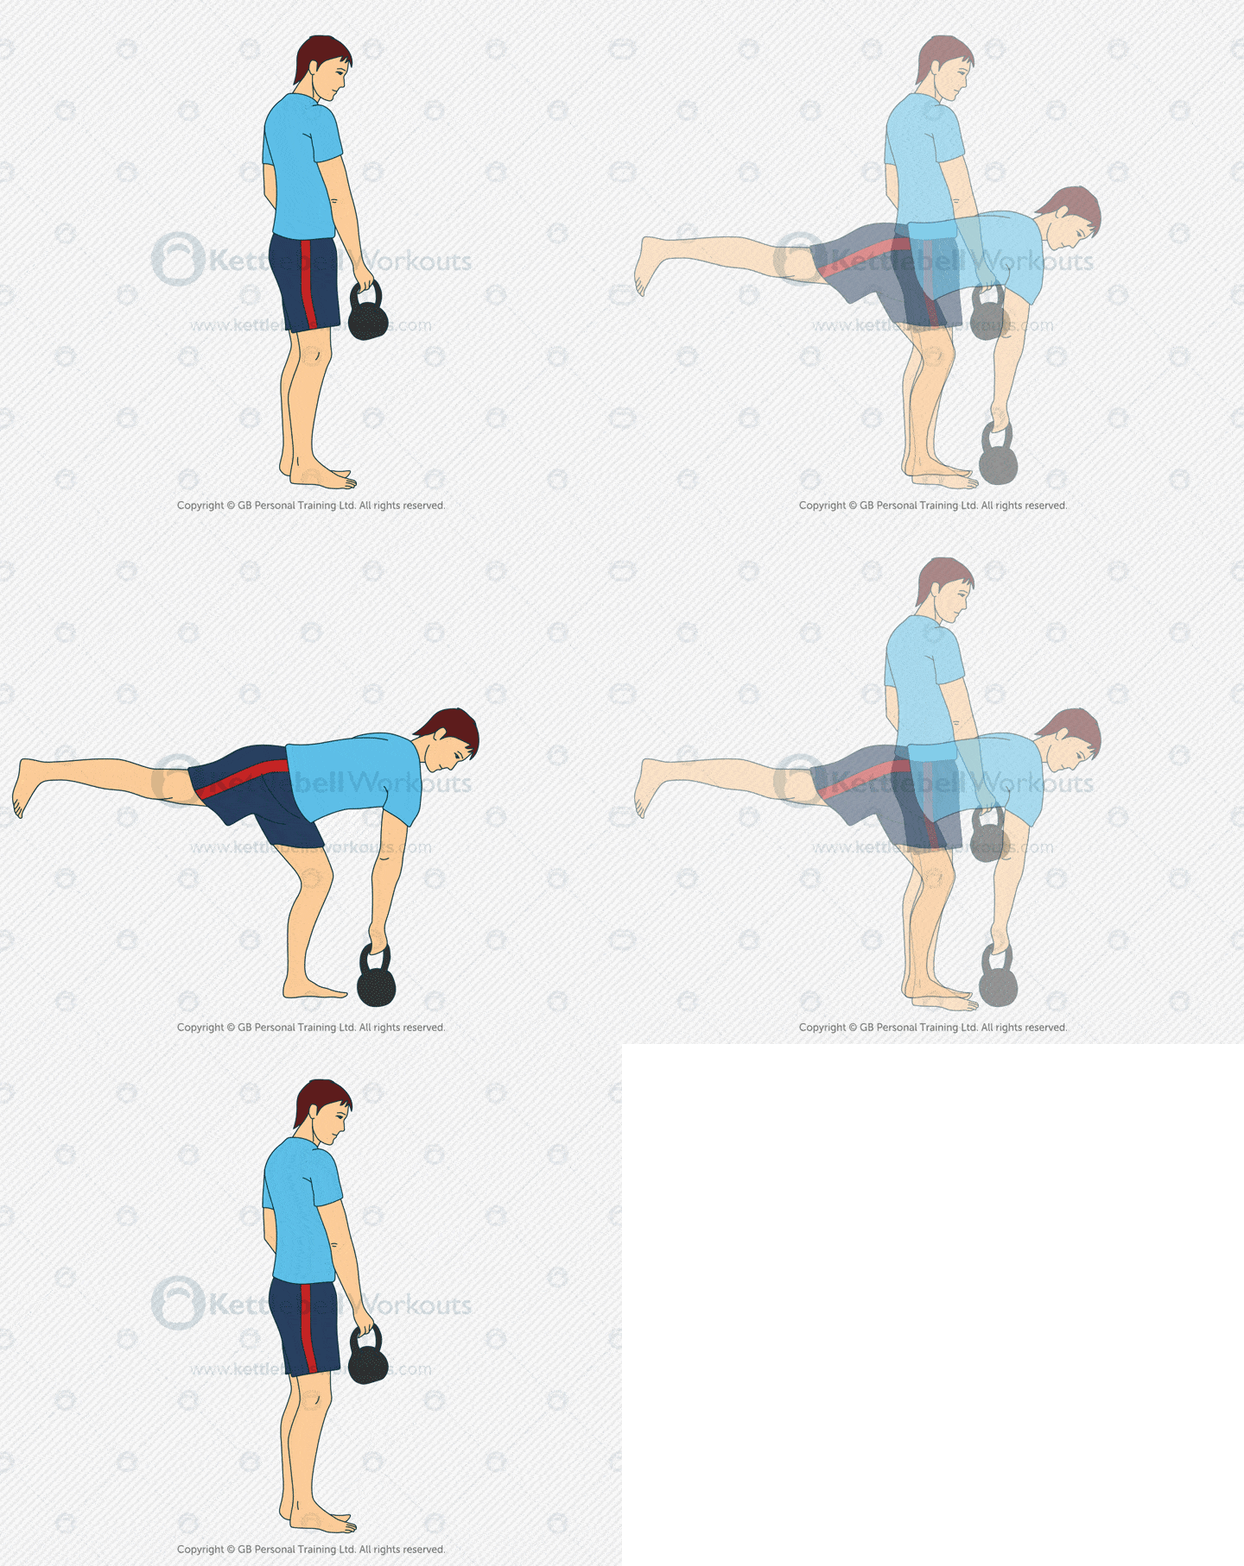
The single-leg deadlift combines hip mobility with balance, hamstring length and control around the standing hip.
Reach the free leg behind you as the torso tips forwards. Keep the pelvis controlled rather than opening the hip towards the ceiling.
Initially you can practise without a kettlebell or lightly hold a wall or chair for balance.
6. Reverse Lunge
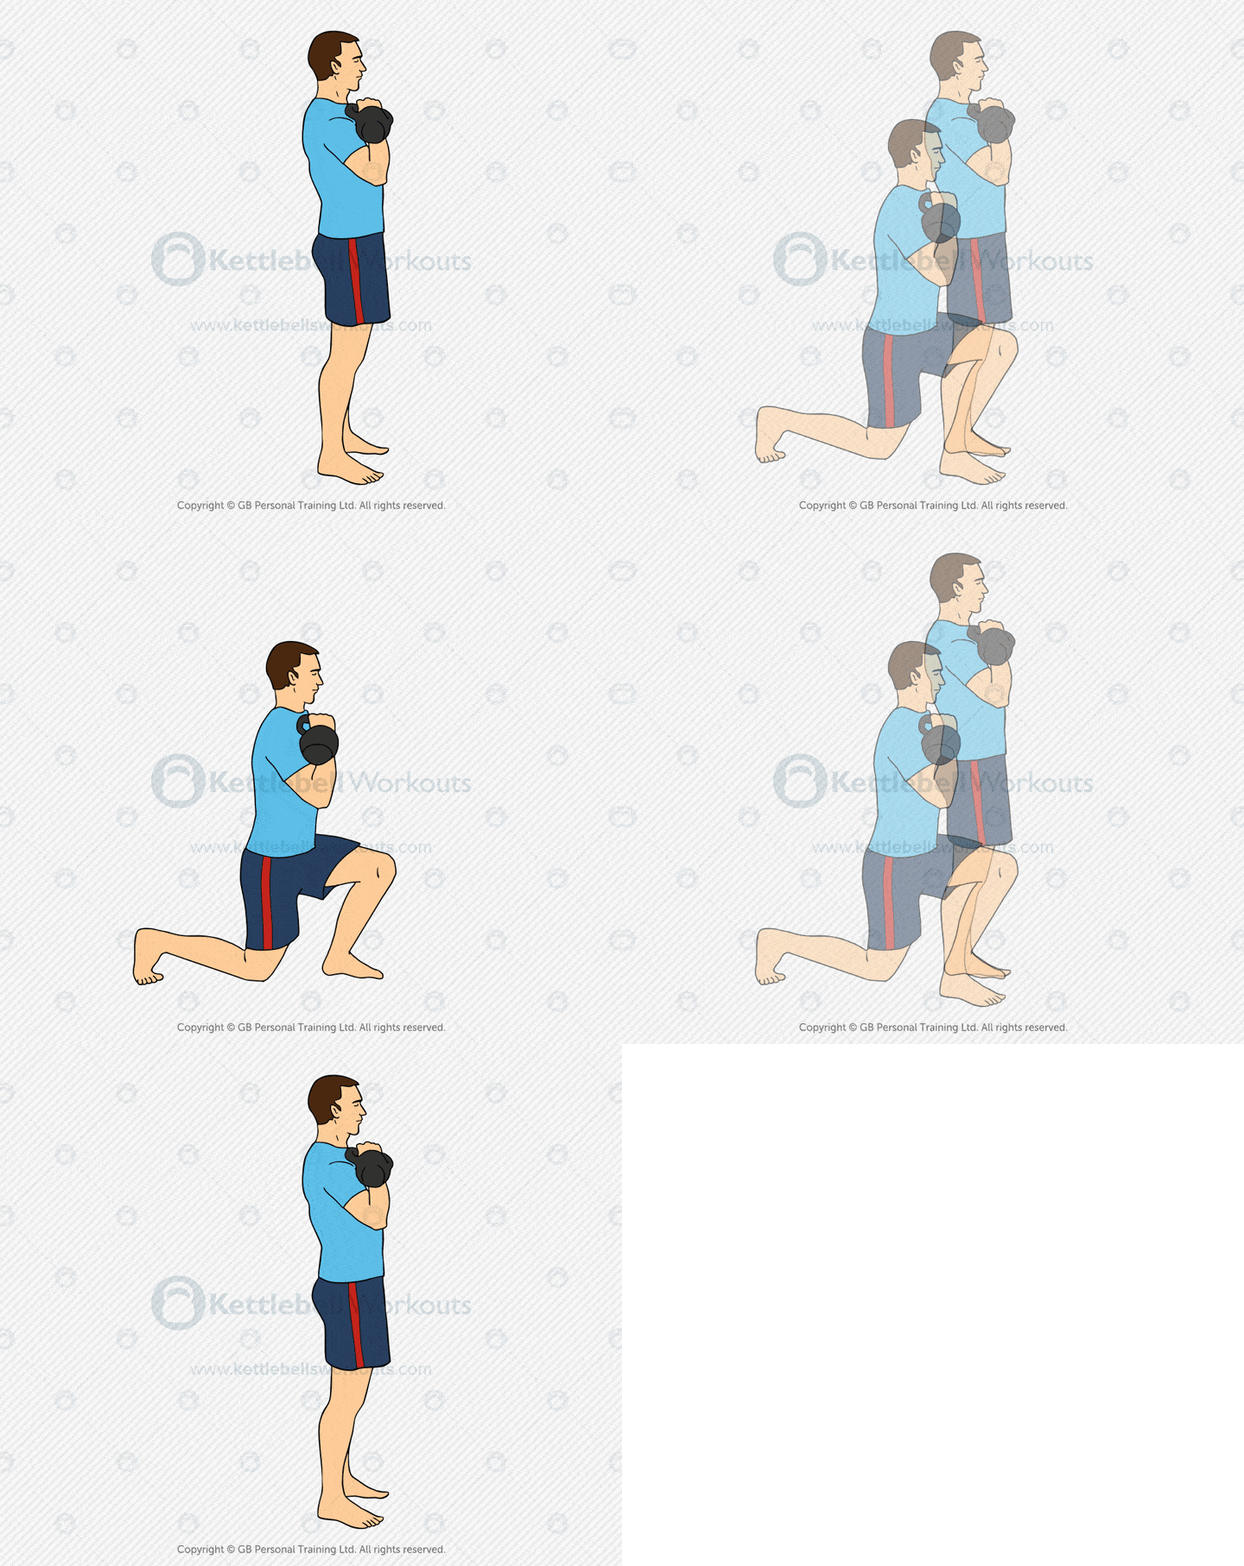
The reverse lunge teaches each hip to work independently while you move from a split stance back to standing.
Step back far enough to create space, lower under control and push through the front foot to return.
If loading the movement changes your technique, practise it with bodyweight first.
7. Kettlebell Swing
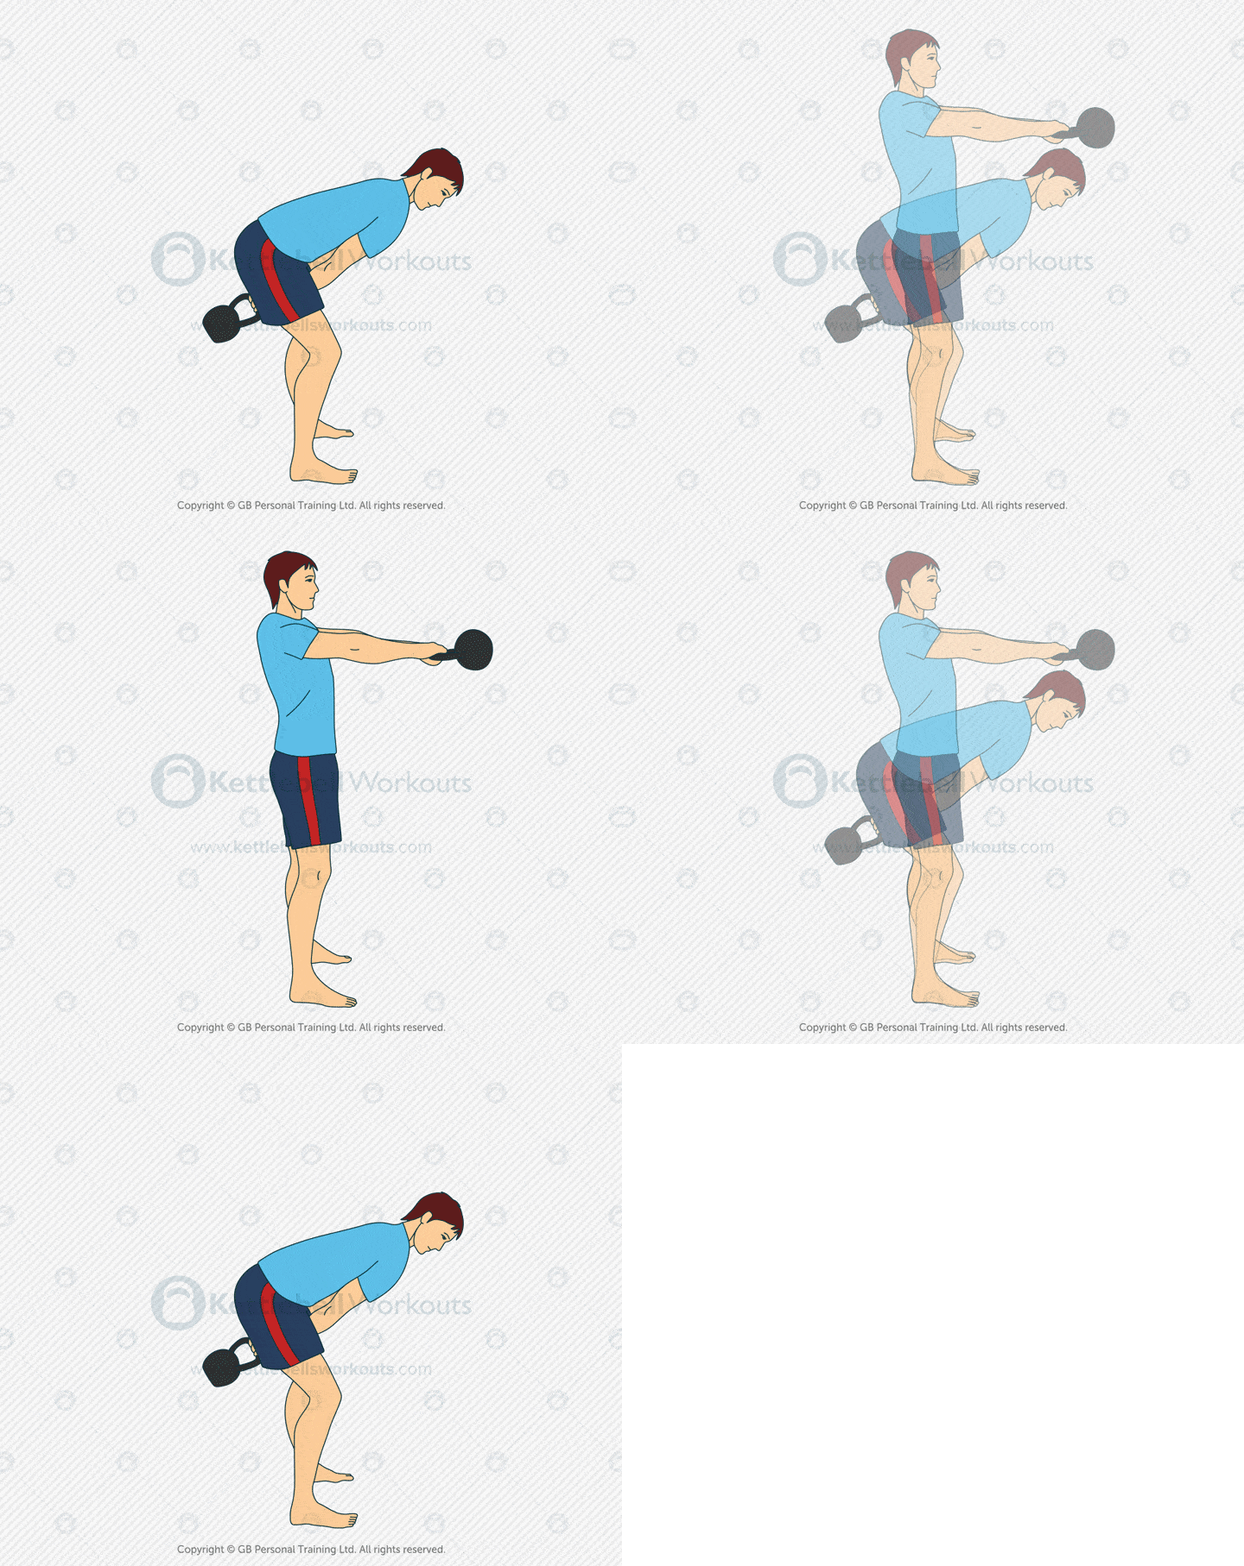
Once you have enough range to hinge properly, the kettlebell swing teaches you to use that movement quickly and powerfully.
The hips travel backwards, the glutes and hamstrings load, then the hips drive forwards to create the kettlebell’s momentum.
The Swing is not a stretch, but it is a good example of why mobility eventually needs to become usable strength.
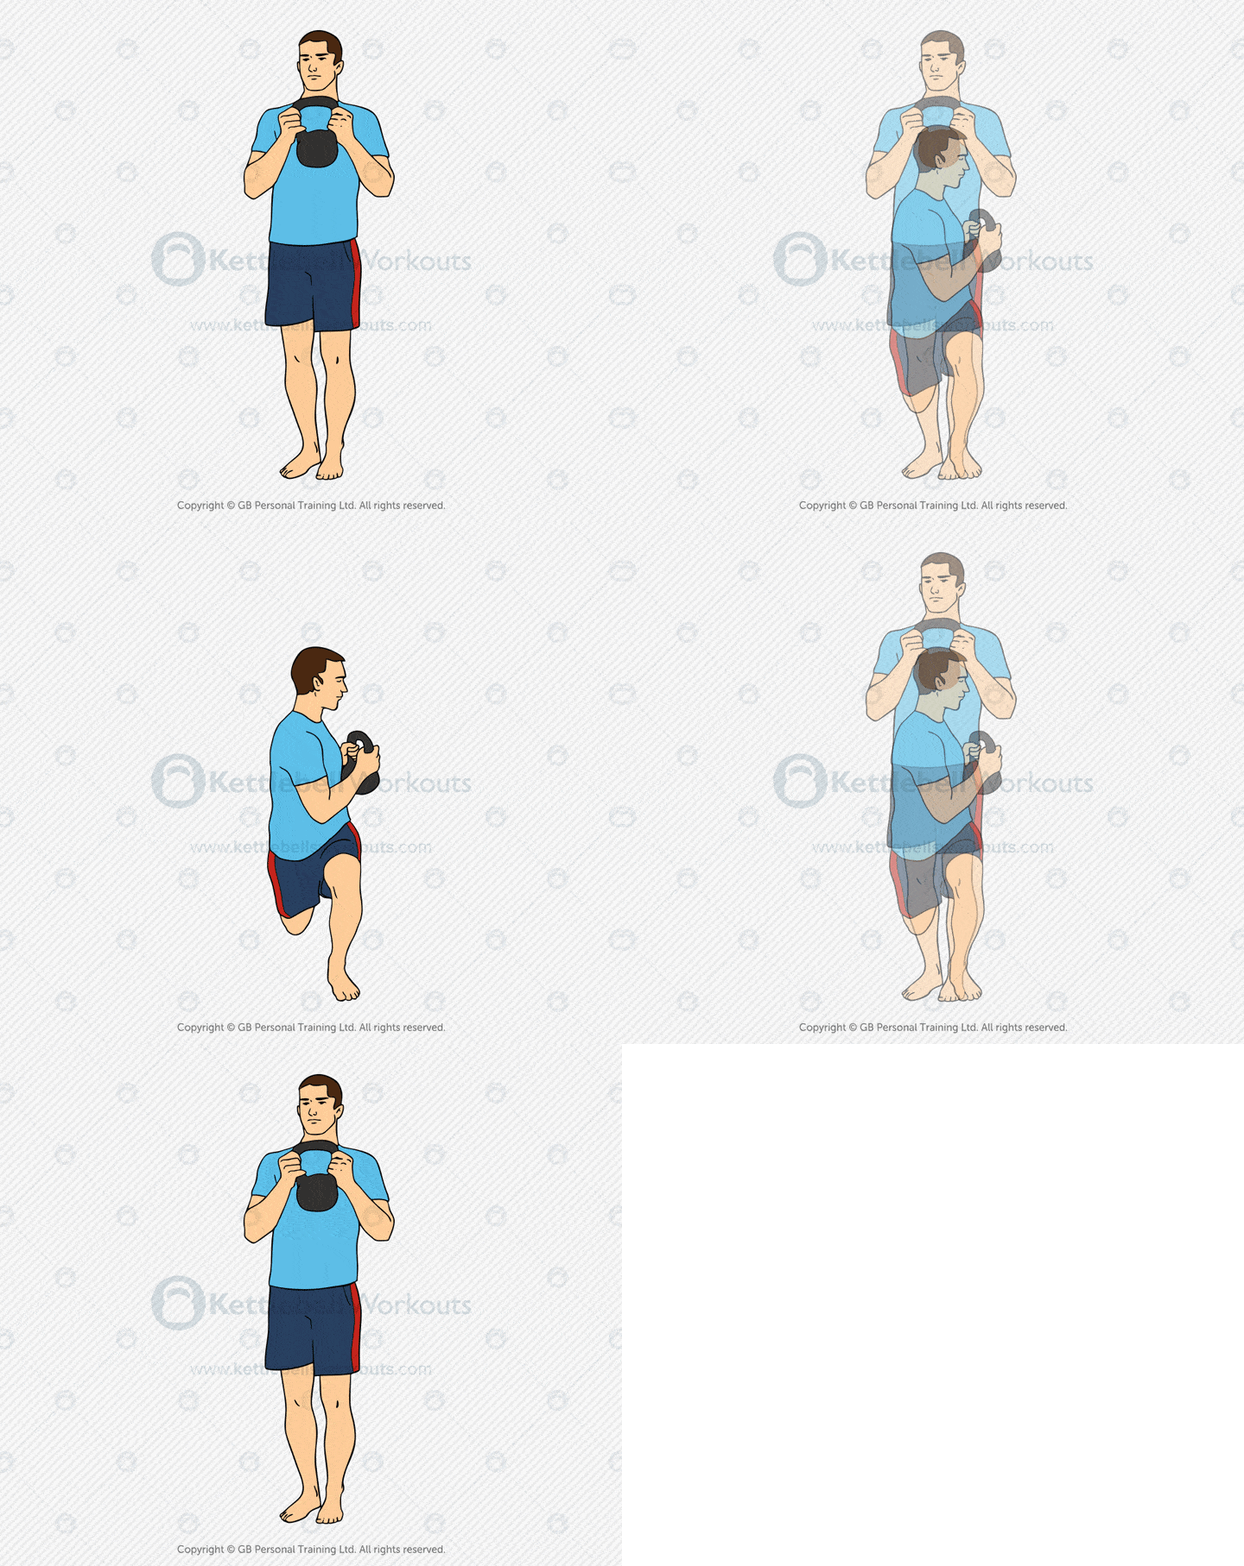
8. Lunge With Rotation
Once your basic lunge is comfortable, adding controlled rotation makes the movement more three-dimensional.
The aim is not to twist as far as possible. Keep the lower body organised while the torso rotates smoothly over the front leg.
This is a more advanced drill, so earn the lunge first and keep the kettlebell light.
My 8-10 Minute Hip Mobility Routine
If you simply want a short routine to loosen the hips and prepare them for kettlebell training, use the sequence below. Keep every repetition smooth and stay away from painful ranges.
5 slow repetitions to each side.
20-30 seconds on each side.
5 controlled repetitions to each side.
5 slow repetitions with a light kettlebell.
5 repetitions on each side, bodyweight or lightly loaded.
5 repetitions on each side.
How Often Should You Do Hip Mobility Exercises?
You do not need a long mobility session every day.
For most people, I prefer short, frequent practice. Five to 10 minutes performed several times during the week is often easier to maintain than an occasional 45-minute stretching session.
The frequency also depends on what you are doing:
Use controlled dynamic movements such as 90/90 switches, Cossacks, light goblet squats and lunges.
Spend longer on positions that need attention and include controlled strength through the new range.
Use full, comfortable ranges in squats, lunges and hinges so mobility becomes part of the training rather than a separate chore.
Reassess the movement. The limitation may be technique, strength or control rather than a lack of flexibility.
Consistency matters more than collecting dozens of different drills.
5 Common Hip Mobility Mistakes
A sensation of tightness does not automatically tell you what is limiting the movement.
Mobility improves through repeated, controlled exposure. More discomfort does not mean a better result.
If you gain range but cannot control it, the new position may never show up in your squat, hinge or lunge.
The hips also rotate and move sideways. Include more than just flexion and extension.
If a drill does not improve the movement you chose it for, another exercise may be a better use of your time.
Choose a small number of drills, practise them consistently and measure them against a movement that matters to you.
What If Your Hip Hurts?
Hip pain can come from several different structures and sometimes pain felt around the hip originates elsewhere.
If the pain is severe, follows a significant injury, is getting worse, prevents you from bearing weight, or you are concerned about it, seek appropriate medical or physiotherapy advice rather than trying to stretch through it.
For ordinary stiffness without pain, begin gently and gradually build the amount of movement and loading that feels comfortable.
If you are returning from an injury or have an existing diagnosis, use the advice of the clinician who assessed you to decide which exercises are appropriate.

How Hip Mobility Fits Into Kettlebell Training
I would not treat hip mobility as a separate goal forever.
Once you have enough comfortable range, the best next step is to use it. Squat through it. Hinge through it. Lunge through it. Control it on 1 leg and gradually add load.
That is where kettlebells become particularly useful because the same exercises can move from mobility practice into strength and conditioning as your ability improves.
If your main goal is broader whole-body mobility with a kettlebell, see my kettlebell mobility exercises and routine.
Frequently Asked Questions
What are the best exercises for hip mobility?
There is no single best exercise because hip mobility includes several different movements. I would start with a combination of 90/90 hip switches for rotation, a hip flexor stretch for extension, Cossack squats for lateral movement and light goblet squats for loaded hip flexion.
How can I improve hip mobility?
First identify the movement that feels restricted. Then use exercises that improve the required range, practise controlling that range and gradually strengthen it. Retest the original movement so you know whether the drills are helping.
How often should I do hip mobility exercises?
Short sessions several times per week are a practical starting point. You can also include mobility inside your warm-up and use full comfortable ranges during normal strength training.
Can kettlebells improve hip mobility?
Yes, when the exercises are appropriate for your current ability. Light goblet squats, Cossack squats, single-leg deadlifts and lunges can combine range of motion with control and strength. More advanced ballistic exercises such as the Swing should come after you have learned the hip hinge.
Is hip mobility the same as hip flexibility?
No. Flexibility refers mainly to available range of motion. Mobility is more useful as a training concept because it also includes your ability to actively control and use that range.
Will stretching alone improve hip mobility?
Stretching can improve range of motion, but it does not need to be the whole solution. Controlled resistance exercises performed through a comfortable range can also help develop usable movement.


Got to say Greg that this blog is an incredible resource. Many thanks.