Last Updated on 1 August 2025 by Greg Brookes
The pushup has stood the test of time. It’s one of the most accessible, effective, and brutally honest exercises out there. No kit required, just gravity, grit, and good form.
In this guide, I’ll walk you through everything you need to know to train up to 100 pushups in a row. We’ll cover perfect form, progression plans, rest strategies, and how to stay consistent when the reps start to climb.
Why Train for 100 Pushups?
Hitting 100 pushups in a single go isn’t just a party trick, it’s a serious achievement in muscular endurance, core stability, and mental resilience. Whether you’re aiming to improve bodyweight strength or just want a challenge you can take anywhere, this milestone is worth chasing.
Muscles Worked by the Pushup
The pushup is a full-body movement, not just a chest exercise. Here’s a breakdown of the major muscles involved:
- Pectorals: These chest muscles are the prime movers in every rep.
- Triceps: Located at the back of the arm, they’re essential for elbow extension and full arm lockout.
- Deltoids: The shoulders help stabilise and push, especially during the first third of the lift.
- Serratus Anterior: These lie under the armpits and stabilise the shoulder blades, key to preventing “winging.”
- Abdominals: Your core acts like a brace to keep your spine in a straight line. Think of the pushup as a dynamic plank.
- Glutes: Help lock your hips into place and maintain straight-body alignment.
- Lats: While not a prime mover, they stabilise the shoulders and contribute to upper-body control.
Pushups may look simple, but they demand coordination and effort from nearly your entire front and back line.
Now, let’s nail the technique…
How to Do a Perfect Pushup

Before you even think about 100 reps, you need one solid rep. Here’s what I look for in a textbook pushup:
1. Hand Placement
Hands should be shoulder-width apart, directly under the shoulders. Fingers pointing forward. Bring your hands closer for more triceps, wider for more chest and shoulders.
If your wrists hurt, use pushup handles or perform pushups on your fists (cushion them on a towel or mat).
2. Foot Position
Feet together? More core activation. Feet slightly apart? More stability. Find what works best for your balance.
3. Body Alignment
Draw a straight line from head to heels. Brace your abs and glutes to keep your hips from sagging or lifting. If your lower back arches, it’s time to work on core strength before chasing big numbers.
4. Elbows and Arm Angle
Elbows should stay close to your body, not flared out. On the way down, think about “screwing” your hands into the floor to engage the lats.
5. Shoulder Blades and Scapular Control
Keep your shoulder blades pulled flat against your back. Don’t let them wing out. A strong serratus anterior is key here.
6. Neck and Head Position
Neck should be neutral. Eyes looking just in front of your hands. Keep your head still, no bobbing or craning.
7. Range of Motion and Speed
Lower under control (2 seconds down), stop at 90 degrees at the elbows, then push up without snapping your arms straight. Focus on quality over speed.
8. Breathing
Inhale on the way down, exhale as you push up. For explosive reps, you may need to hold your breath briefly to brace your core.
Here’s a video on how to perform the perfect push up:
If You Can’t Do One Pushup Yet
No shame in starting from zero. Here’s the path I give my clients:
- Wall Pushups: Hands on the wall, feet about 3 feet back. Aim for 20 reps.
- Table or Incline Pushups: Hands on a table, couch or sturdy surface. 20 reps.
- Chair or Step Pushups: Take your hands lower. Again, 20 reps.
- Knee Pushups: Only if needed. Keep a straight line from head to knees.
Don’t rush the process. Form over ego.
Here’s a quick video on how to use stairs to progress your push ups:
Pushup Progression Plan (From 1 to 100)
Step 1: Know Your Max
Test how many perfect pushups you can do without resting or breaking form. Record that number.
Step 2: Build Your Baseline
Here’s the formula I use:
- Max pushups x 2 = Weekly total
- Divide by 5 = Reps per set
- Perform 5 sets, 3x per week (e.g. Mon/Wed/Fri)
If your max is 20:
- 20 x 2 = 40 total reps
- 40 / 5 = 8 reps per set
- Do 5 x 8 reps with 60–90 seconds rest between sets
Step 3: Weekly Progressions
Linear Method
Each workout, add 1 rep to each set:
- Week 1: Monday 5 x 8 reps = 40
- Week 1: Wednesday 5 x 9 reps = 45
- Week 1: Friday 5 x 10 reps = 50
The body doesn’t improve in linear numbers like this, so if you have to repeat the same numbers for a few days, that is fine. The most important point is to keep adding reps when you can and continue making progress.
Undulating Method
If linear feels boring, vary the rep count per set to challenge different energy systems. Example:
- Set 1: 12 reps
- Set 2: 8 reps
- Set 3: 10 reps
- Set 4: 9 reps
- Set 5: 11 reps
Still aim for total weekly volume increases over time.
Max Method: Push Your Limit (Safely)
This method is simple but highly demanding: perform as many pushups as you can in each set. It can be effective for building endurance quickly, but it also carries a higher risk of burnout if done incorrectly.
Here’s how it works:
- Set 1: Max reps
- Set 2: Max reps
- Set 3: Max reps
- Set 4: Max reps
- Set 5: Max reps
To reduce injury risk and avoid nervous system fatigue, I recommend keeping 1–3 reps in reserve. So if you know failure hits at 20 reps, stop at 17 or 18.
This approach requires good body awareness. If you’re newer to training, start with a more structured method (like the linear or undulating plans) before using this one.
How Much Rest Between Pushup Sets?
Rest matters. For strength-focused sets, take 90–120 seconds. For endurance or high-rep sets, 45–60 seconds should do.
The more reps you’re doing per set, the less rest you’ll need over time, but only if form stays sharp.
100 Pushup Challenge: Are You Ready?
When you can complete 5 sets of 40 reps (200 total reps), you’re in range to attempt 100 in a row. Test yourself every two weeks. Aim for clean, controlled reps, not ugly grinders.
What If Pushups Hurt Your Wrists?
Wrist pain is one of the most common complaints I hear from clients during pushups. Thankfully, there are several easy fixes that still let you reap the benefits of the pushup without discomfort or long-term issues.
- Use Pushup Handles or Parallettes: These allow you to keep your wrists in a neutral position rather than extended, reducing stress on the joint.
- Pushups on Fists: If you’re comfortable, making fists and performing pushups on knuckles (with padding underneath) is a joint-friendly option that keeps wrists aligned.
- Elevate Your Hands: Wall or incline pushups reduce the angle and pressure on the wrists, making them more tolerable.
- Strengthen the Wrists: Include wrist mobility drills and light resistance exercises (like wrist curls and extensor work) in your routine.
- Check Hand Placement: Often wrist pain comes from flared elbows and improper hand alignment. Keep hands under shoulders with fingers pointing forward.
If pain persists despite these changes, back off and reassess with a physio. No gain is worth long-term joint damage.
Beyond 100 Pushups
Once you can comfortably bang out high reps, it’s time to level up with variations:
- Pushups on a Stability Ball
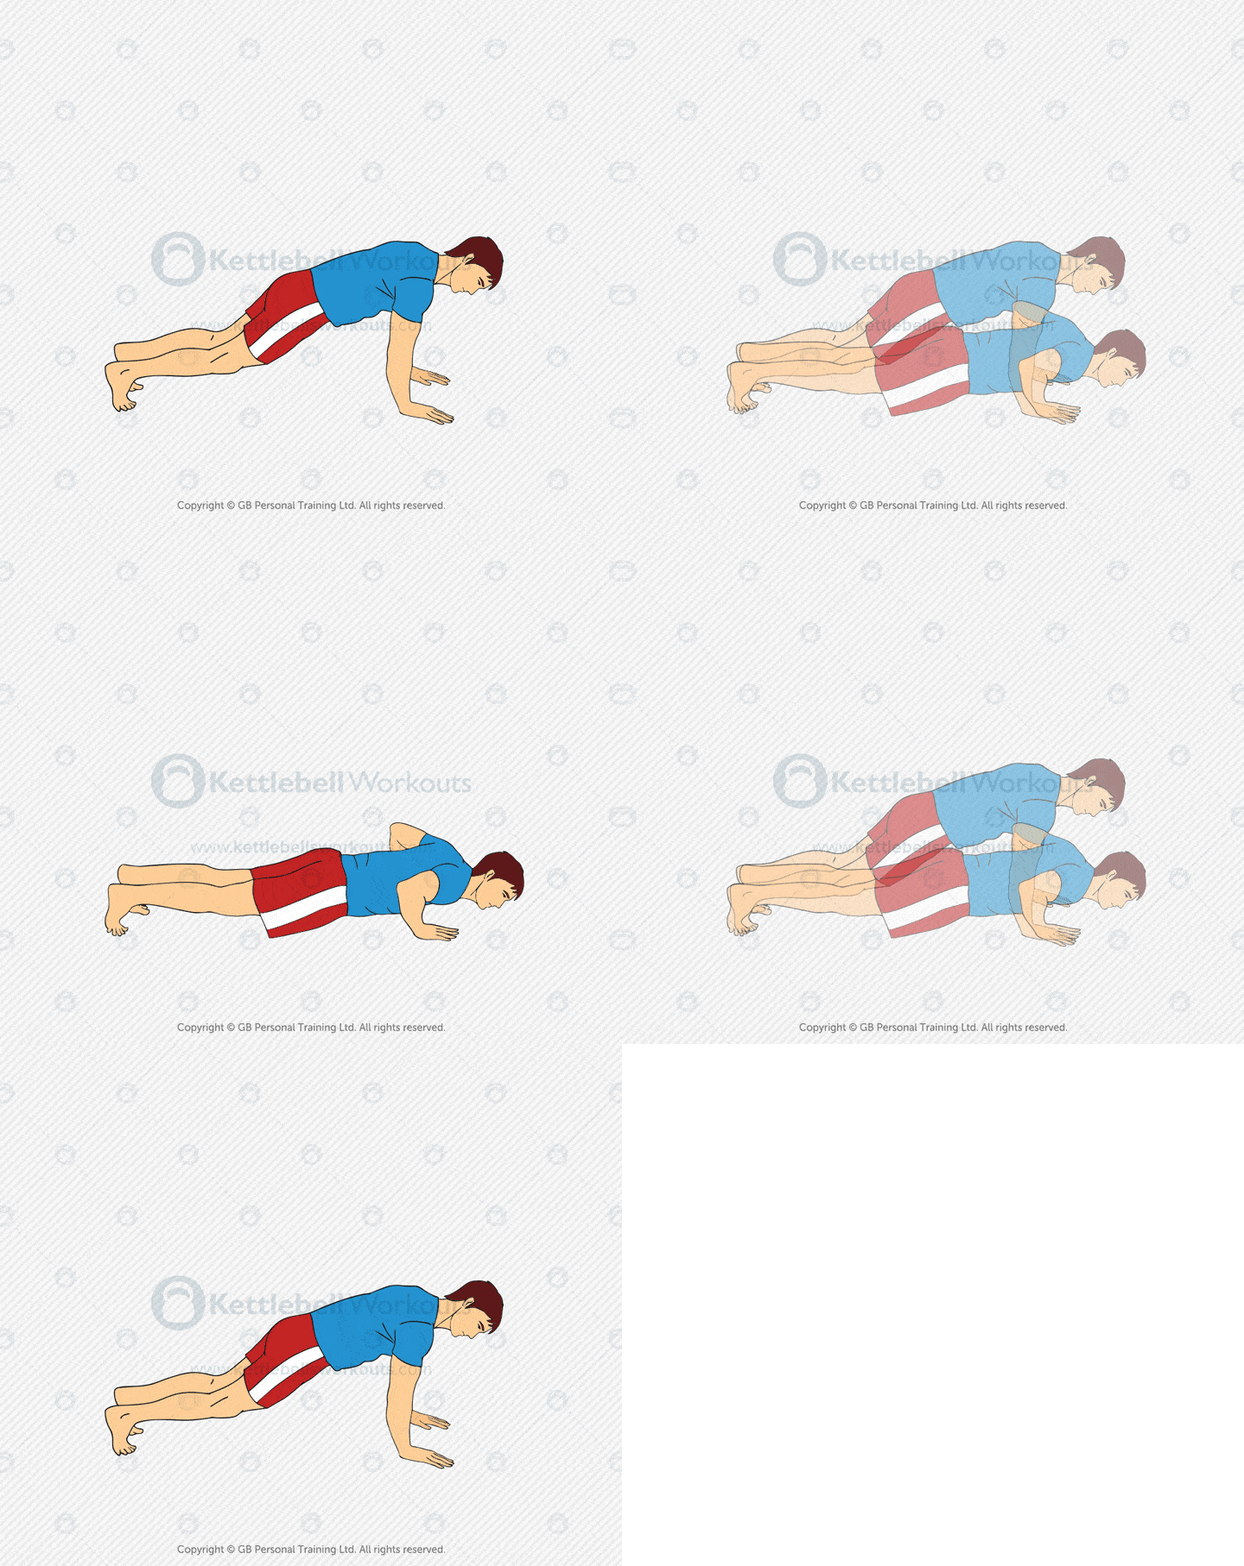
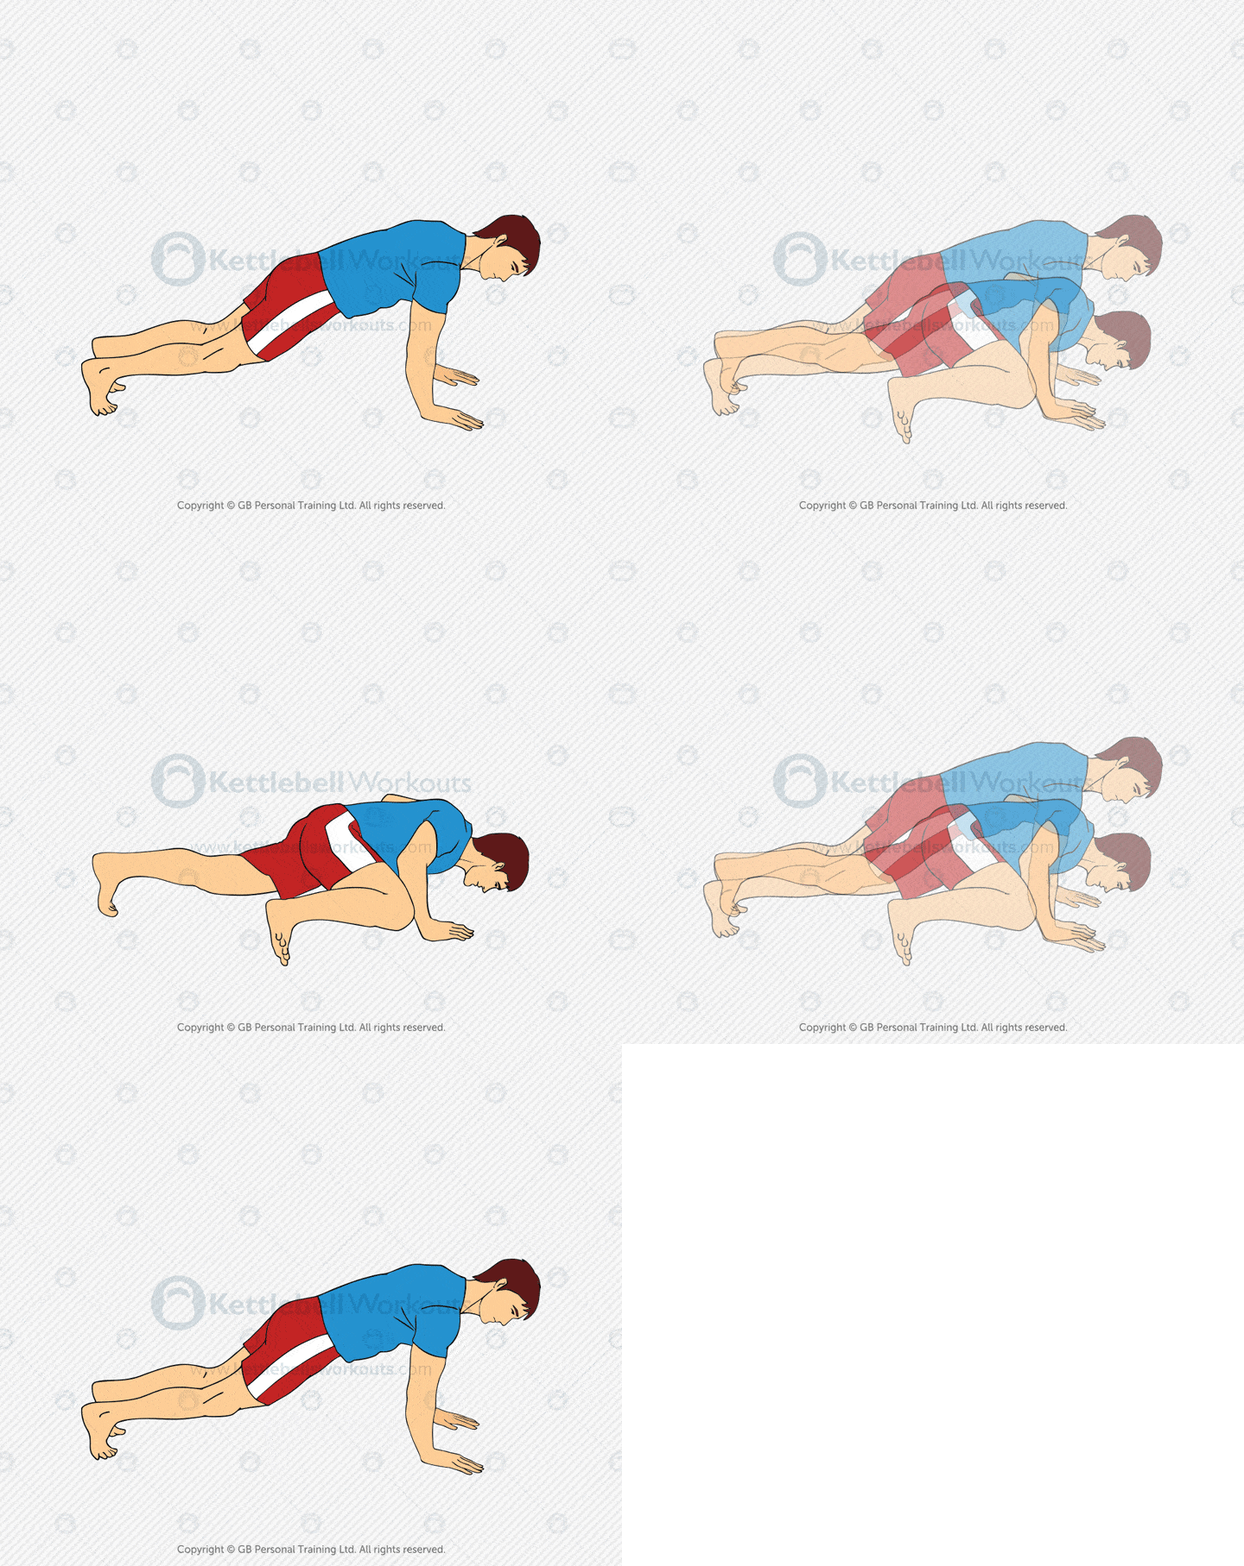
- Pushups with Shoulder Taps or Mountain Climbers
- Plyometric Pushups (Claps or Explosive Rebounds)
- Pushups with Leg Raises or Single-Leg Variations
These progressions will boost your shoulder stability, core strength and dynamic control.

Coach’s Insight: Greg’s Take
I’ve seen clients of all ages hit 100 pushups in a row, but only when they stop chasing reps and start focusing on quality movement. Form first, progress second. If you approach it like skill training, the numbers take care of themselves.
And don’t skip the basics. I’ve worked with athletes who needed to regress their pushups to a wall to fix alignment issues. Ego is the enemy. The floor is always honest.
Final Thoughts
Training to hit 100 pushups is a brilliant, equipment-free way to build upper body and core strength, boost endurance, and develop true body control. Stick with the plan, stay consistent, and don’t rush the reps.
Let me know when you hit your 100, and how it felt getting there. I’d love to hear your story.
Frequently Asked Questions
It depends on your starting strength and consistency. Many people can build up to 100 pushups in a row within 12 weeks using a progressive training plan.
Start by finding your max reps, multiply by two, and divide into 5 manageable sets. Train 3 times per week, adding reps each session. See the full plan above.
Begin with wall pushups, then move to incline pushups on a table or chair. Only drop to knee pushups if needed. Focus on building strength progressively.
For endurance: 45–60 seconds. For strength or low-rep sets: 90–120 seconds. Always prioritise recovery for proper form.
It depends on your experience level. Beginners may see gains, but after a while, doing the same reps daily leads to a plateau. Progressively overload with reps or variations.
You can, but it’s better to rest every other day, especially if you’re pushing toward high reps. Your muscles grow when you recover.


Comments