Last Updated on 19 March 2026 by Greg Brookes

Unlock full-body strength, mobility and conditioning with kettlebell squats. This powerhouse movement challenges your muscles, coordination, and posture while torching calories.
I’ve taught kettlebell squats for nearly two decades, and they remain one of my go-to patterns for reclaiming strength, refining movement, and rebuilding joint integrity. Whether you’re new to squatting or refining your form, this guide will help you master this all-important squat from the ground up.
What Are Kettlebell Squats?
These loaded squats are performed while holding a kettlebell and can improve strength, mobility, posture, and movement control across a wide variety of positions.
Unlike traditional barbell versions, kettlebell variations offer more versatility. You can hold the bell in different positions, goblet, racked, overhead, to shift the training stimulus and challenge your body in new ways. This adaptability makes them ideal for home workouts, group classes, and rehab settings alike.

Why Kettlebell Squats Matter
Squatting is one of the most fundamental human movements. From standing up off the floor to picking up a child, squatting transfers directly to real-world strength.
Squatting with a kettlebell adds load in a way that reinforces healthy mechanics. Here are some reasons they matter:
You’ll see enhanced hip, knee, and ankle mobility while also building lower-body and core strength. Holding the bell in front or in the rack encourages upright posture, while engaging the entire body. The metabolic demand also supports fat loss and cardiovascular conditioning.
Best of all, these squats can be scaled to any fitness level. Beginners use goblet or bodyweight drills. More advanced trainees can progress to racked, overhead, or double-bell versions.
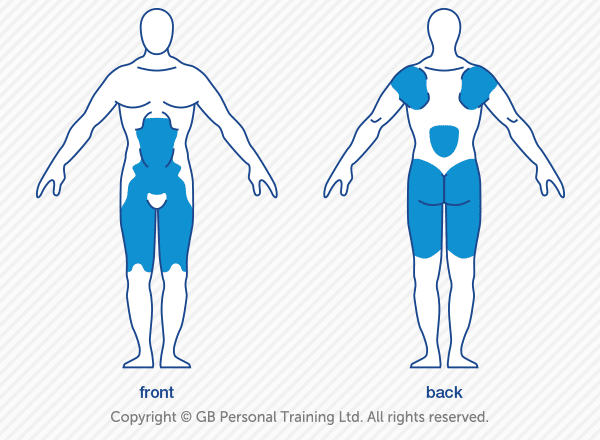
Muscles Worked by Kettlebell Squats
Kettlebell squats are a full-body movement, but here are the key muscle groups involved:
- Quads: Especially the vastus medialis and lateralis during descent and ascent
- Glutes: Maximus, medius, and minimus during hip extension
- Hamstrings: Assist in controlling the descent and stabilising the hips
- Adductors: Key for knee tracking and hip control
- Core and Obliques: Engage to stabilise the torso
- Upper Back and Shoulders: Especially during racked or overhead variations
Each of these muscle groups plays a role in maintaining balance, control, and power during the squat.
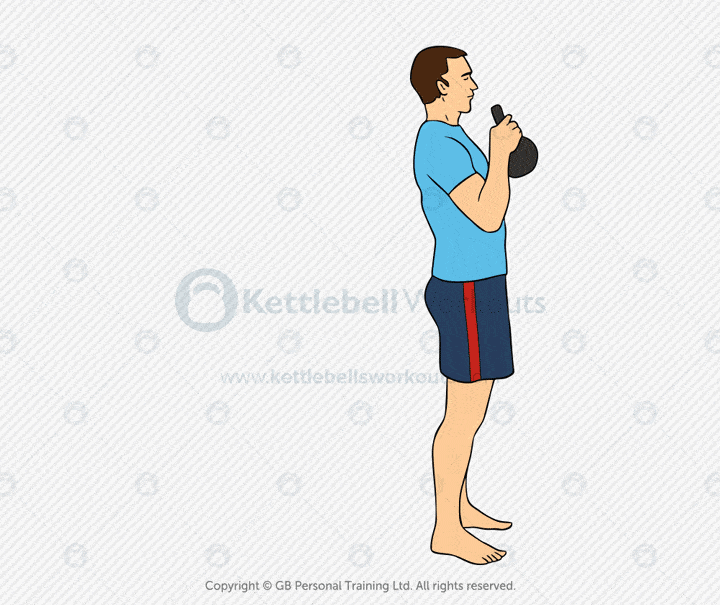
Step-by-Step: How to Perform a Kettlebell Squat
Before adding load, start with bodyweight. If your thighs don’t reach at least parallel, adding resistance will only reinforce poor mechanics.
- Stand with feet slightly wider than hip-width, toes turned out slightly.
- Hold the kettlebell in front of your chest (goblet style) or in the racked position.
- Initiate by pushing the hips back as if sitting into a chair.
- Keep your chest lifted and spine neutral.
- Drop down until thighs are at least parallel.
- Keep weight in heels and outer edges of feet.
- Exhale and drive up, squeezing glutes at the top.
If you struggle to reach proper depth, try squatting to a box or using a resistance band around your knees to improve your motor pattern.
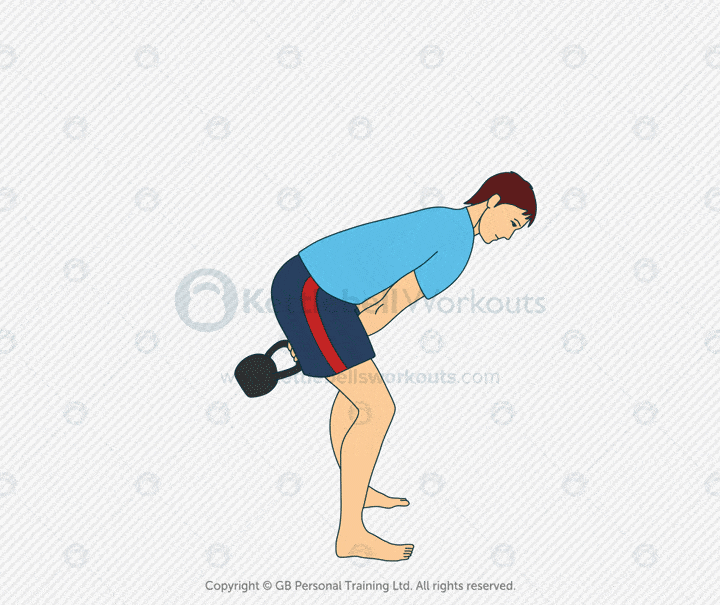
Watch the Kettlebell Racked Squat in Action:
Common Mistakes to Avoid
There are a few technical pitfalls I see regularly with kettlebell squats:
- Knees collapsing inward: This usually signals weak glutes or poor awareness. Try using a resistance band just above the knees to cue proper tracking.
- Weight shifting to toes: Always aim to root your heels into the ground. If your heels lift, work on ankle mobility.
- Chest dropping forward: A collapsed chest disrupts your posture and balance. Focus on keeping the elbows close and sternum lifted.
- Not reaching depth: Use a box or target behind you to encourage a deeper, more controlled descent.
Correcting these issues early leads to better results and fewer injuries long-term.
Coach’s Insight: Greg’s Take
I use kettlebell squats as both an assessment tool and a strength builder. They tell me everything about a client’s mobility, control, and coordination.
One of my favourite coaching cues: “Elbows to thighs, chest up.” It helps lifters find depth without collapsing forward. If someone struggles with barbell back squats or has knee discomfort, this is often the first exercise I return them to.
Warm-Up Drills
Effective squatting starts with solid preparation. Here are some warm-up drills I use with clients before loading:
- Wall Squats (3 sets of 5 reps): Promotes upright posture and ankle mobility.
- Hip CARs (Controlled Articular Rotations): Activates hip joint range of motion.
- Ankle Rockers: Loosens tight calves and improves dorsiflexion.
- Goblet Squat Holds (10–30 seconds): Engages core and hips while encouraging depth.
Take 5–8 minutes to perform these drills before your session and you’ll feel more stable and mobile right away.
Progressions and Regressions
Not every squat variation suits every trainee right away. Here’s how I approach modifications:
Regressions:
- Bodyweight Squat: Establishes pattern before adding load.
- Box Squat: Builds depth control safely.
- Banded Goblet Squat: Helps guide knees outward.
Progressions:
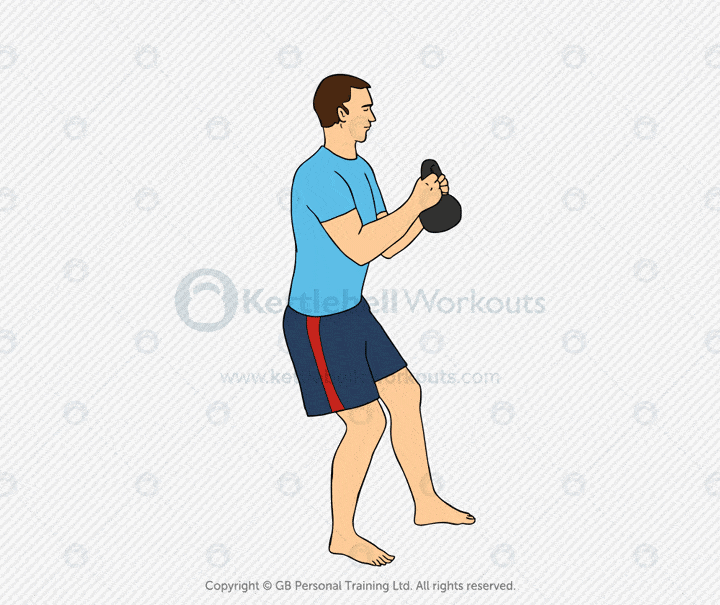
- Racked Kettlebell Squat (unilateral or bilateral): Adds asymmetrical load and core challenge. Practising racked squats builds tremendous postural strength and trunk control.
- Kettlebell Thruster: Combines squat and press for full-body power.
- Overhead Kettlebell Squat: Requires control, flexibility, and focus.
- Pistol Squat with Kettlebell: Builds single-leg strength and balance.
- Double Kettlebell Front Squat: Maximises loading potential.

Programming Tips and Reps
How you program these squats depends on your goal:
- For Strength: Use 3–5 sets of 5 reps with heavy load and longer rest periods.
- For Muscle Growth: Try 3 sets of 8–12 reps with moderate load and shorter rest.
- For Conditioning: Perform as many reps as possible in 60 seconds with a manageable weight.
- In Circuits: Pair with swings, slingshots, halos or lunges for time-efficient workouts.
Make sure form remains crisp even under fatigue.
Comparison: Kettlebell Squat vs. Goblet Squat
While goblet squats are a type of kettlebell squat, they’re only one piece of the puzzle. The term “kettlebell squats” covers a broader category:
- Goblet
- Racked
- Overhead
- Double Front Squat
- Sumo
- Pistol
- Deck
Goblet squats are fantastic for learning. But once the movement pattern is dialled in, it’s important to progress to more advanced versions that target additional muscle groups and movement patterns.
7 Kettlebell Squat Variations
To keep your training dynamic and targeted, rotate between these kettlebell squat variations:
- Goblet Kettlebell Squat – Teaches foundational movement and depth control.
- Two-Handed Kettlebell Squat and Press – Adds a pressing element for upper-body integration.
- Racked Kettlebell Squat (One-Handed) – Focuses on core stabilisation against rotation.
- Kettlebell Thruster – Builds explosive strength and total-body coordination.
- Overhead Kettlebell Squat – Demands control, shoulder stability, and full-body mobility.
- Kettlebell Pistol Squat – Trains single-leg strength, balance, and flexibility.
- Kettlebell Deck Squat – Incorporates rolling for hip mobility and athletic coordination.
For more detailed breakdowns of each squat variation, check out the links above for the original guides.
Want More Smart Kettlebell Training?
Subscribe to my newsletter or explore my kettlebell programs to build strength, mobility, and endurance without unnecessary complexity. Every session is designed to deliver results with clarity and purpose.
Ready to load up more? Find all kettlebell squats and variations in my exercises library.
Frequently Asked Questions
Yes, kettlebells provide a compact, versatile loading tool perfect for teaching and progressing squat patterns safely.
If you can perform 20 clean bodyweight squats, start with 8–12kg (women) or 12–20kg (men) for goblet squats.
They target glutes, hamstrings, quads, core, and postural muscles—offering both strength and cardiovascular benefits.
Light, technical squats can be done daily. Heavy or high-volume squats should be followed by recovery days to avoid overtraining.


Love these 4 min sets!
I am quite new to this and just started your 4min workouts. How long do i need to each one before i move on to your next 4min video many thanks debbie
Hello Debbie, when you can perform 3 x 4 min circuits with a 60 second rest in between you can progress to the next workout the following day.
Regardless of the type of squat I do, whether loaded or bodyweight, if I go lower than knees I get really bad hamstring or glute pain the following days. Any ideas why? I ‘m tall with long legs.
Hi Neil, when you say hamstring and glute pain do you mean muscle soreness? Deep squats will activate the Glutes and Hamstrings heavily and that’s why you’ll get the soreness. If the pain is only soreness then I would practice without a kettlebell for a while to develop some condition first. Tall people have longer limbs and therefore are at a disadvantage for squatting and deadlifting so you’ll never become a world champ but for lighter loads you should be OK.
Just started the routine. What a great workout thanks to your video to get the technique right
Thank you! I’ve been trying for years to squat and never quite got it….but just by loading the heels I am now able to fully squat to the floor! Yay
Brilliant…well done Nic